First Time in Clipless Pedals

Today was a big milestone - my first ride with cycling shoes and clipless pedals!
It is an illustration of my profound ignorance of road cycling that - prior to signing up to Tour de Cure - I had never heard of the term “clipless pedals”, nor did I know that cycling shoes are designed to clip into pedals. I thought cycling shoes were just a specialised type of sports shoes that I could easily go without, much like how you could go climbing as a beginner without climbing shoes, or go hiking without fancy hiking boots.
While I started my road cycling journey with flat pedals and normal walking shoes, it is mandatory to use clipless pedals and cycling shoes for Tour de Cure’s more advanced training sessions, as well as for the actual Tour itself.
Why Clipless Pedals?
Since I had never heard of clipless pedals before, I spent some time researching their benefits over flat pedals. Here’s what I learnt:
-
Increased power output: Since your shoes are clipped into the pedals, you can pull up in addition to pushing down on the pedal. This engages a bigger muscle group, thus generating more power output through the entire rotation of the crank.
-
Increased control and safety: Clipless pedals lock your feet in place and prevent them from sliding around or flying off the pedal.
The Components
To launch myself into the vaunted world of clipless pedals, there were three separate components I had to procure: pedals, cleats, and shoes.
Pedals

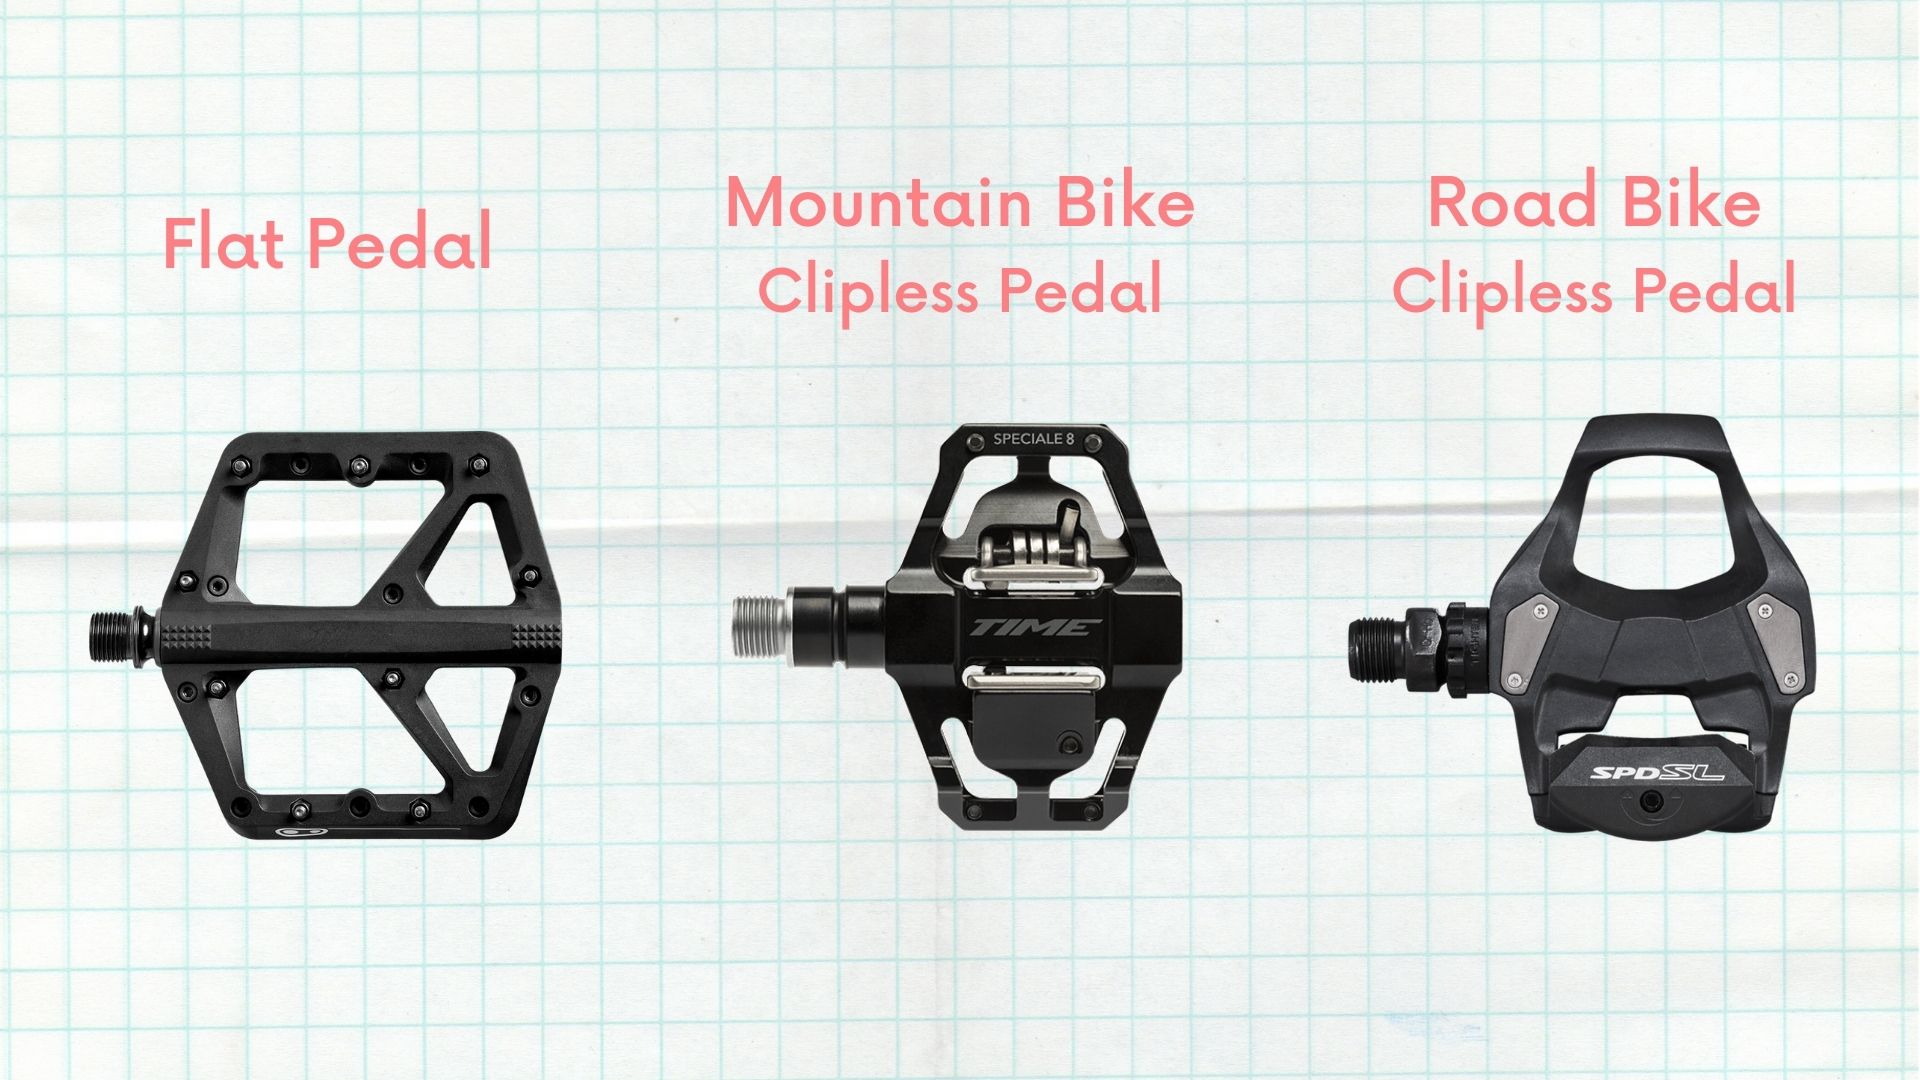
If you’re confused by the term clipless pedals, you are not alone. Clipless pedals are actually pedals that you clip into with your cycling shoes. They are only called clipless for the historical reason of differentiating them from the old-style pedals with toe-clips and straps. (As an aside, while reading articles and watching videos online, I found that some sources use the more logical term “clip-in pedals”. However, since most people still seem to refer to them as clipless pedals, I will stick with that term in this blog.)
Broadly speaking there are two varieties of clipless pedals - those designed for mountain bikes and those for road bikes. Mountain bike clipless pedals are typically double-sided, meaning you can clip into either side of the pedal, making it easier to engage. Road bike clipless pedals are single-sided, and usually have a larger contact area for more efficient power transfer.
Cleats

A cleat is a component that attaches to the sole of a cycling shoe, allowing you to clip your shoe into the pedal.
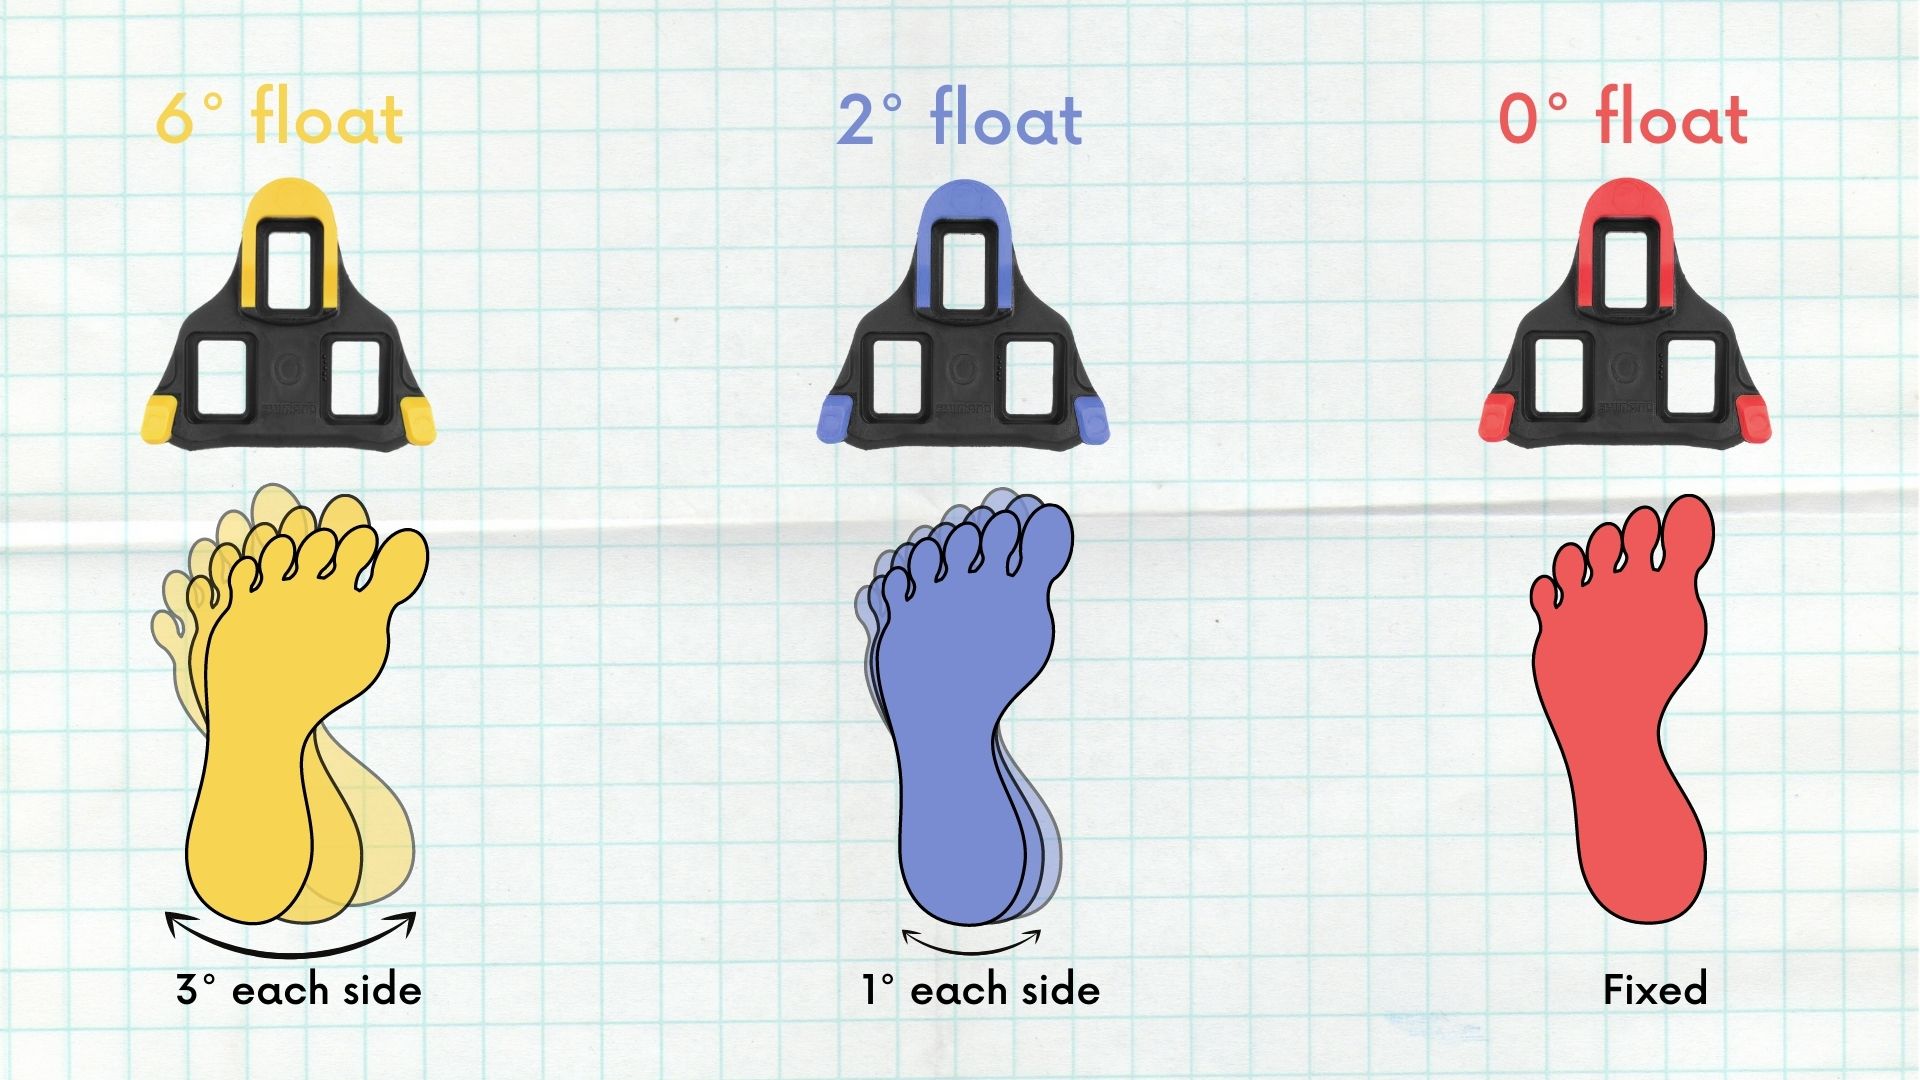
Shimano is one of the most popular brands for cleats, and theirs come in three different colours - yellow, blue or red. Each colour denotes a different level of float, which is essentially how much you can rotate your feet left and right while the cleat is attached to the pedal.
The yellow cleat allows for six degrees of float, and is almost universally prescribed to entry level road cyclists. The blue cleat allows for only two degrees of float, while the red cleat is fixed in position and allows no float at all. This is usually used by professional cyclists - the fixed cleat enables a very power-efficient pedal stroke, since no unwanted movement of the feet are allowed.
While looking through the different cleats at my local bike store, I was told by the sales assistant that some people see red cleats as a badge of honour, though he conceded even some Tour de France riders prefer to have some float and hence don’t use red cleats.
Shoes

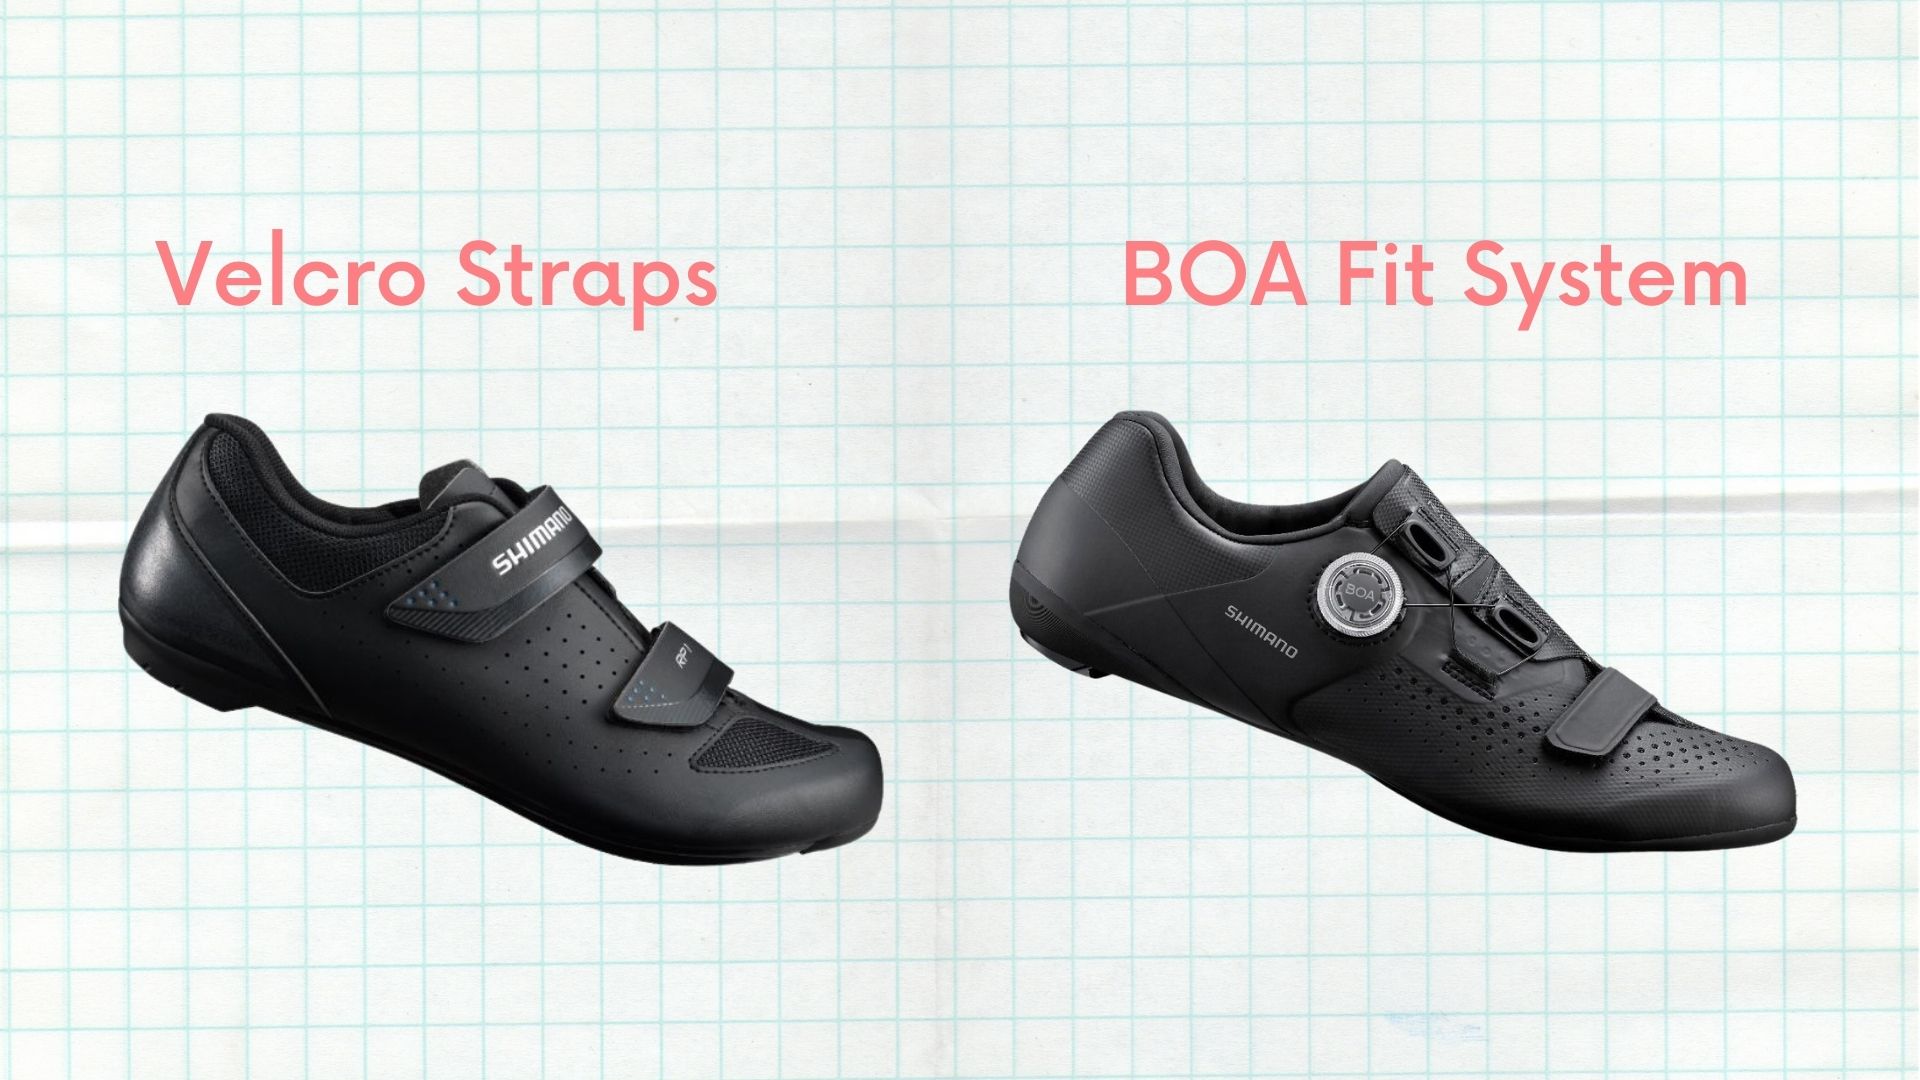
Entry level cycling shoes typically have Velcro straps, while many higher-end models are fitted with the “micro-adjustable” BOA system, where a small circular dial is used to adjust the lace tension to achieve a better fit and a more even pressure distribution. After spending so much money on a new bike and various accessories, however, this fancy BOA system seemed very much like a luxury I did not need.
I struggled to find a shoe with a good fit, since the front of my feet are apparently uncommonly broad, causing my little toe to push uncomfortably against the side of many of the shoes I tried, especially the women-specific designs. In the end I went with a simple, cheap, unisex Velcro model.
My Final Setup
- Pedals: Shimano R550 (SPD-SL technology, lightweight composite body)
- Cleats: Shimano SH11 Yellow (6 degrees float, nylon resin cleat, non-slip rubber base for easier walking)
- Shoes: Shimano RP1 (Velcro straps, synthetic leather upper, glass fiber reinforced nylon sole).
Clip Clip Hooray
My first proper ride in clipless pedals was a culmination of a few days of preparation and practice. Here are the steps I went through:
-
YouTube videos: I started by watching several YouTube tutorials on clipless pedals. I found the Global Cycling Network channel particularly helpful. The videos all recommended practicing clipping in and out at home for 20-30 minutes, before heading to a quiet park or grassy area to continue the practice, and only then venturing out onto the roads. I also learnt the correct sequence for clipping in: (1) Clip into the pedal on your dominant side while the bike is still stationary, (2) Push off, start pedalling and gain some momentum, and finally (3) Clip into the other pedal.
-
Practice at home: Steadying my bike against a wall, I practiced clipping in and out of each pedal. It took quite a few tries before I successfully clipped in for the first time, since I had to push down a lot harder than expected to engage the clipping mechanism. I found it was easiest to clip in with the pedal at the four o’clock position (when viewing the bike from the right). To unclip, I found it was easiest to first point my shoe down, before twisting my ankle outwards, away from the bike.
-
First practice outside: I felt mildly fearful heading outdoors for the first time with my cycling shoes and clipless pedals; I ended the session bruised and slightly traumatised. I had foolishly decided to head out on a rainy afternoon, which meant I only had a 15-metre stretch of semi-sheltered footpath near my apartment on which to practice. When I clipped in my left (dominant) foot and attempted to push off and get going, my bike promptly toppled towards the left and I fell straight onto the ground. I quickly realised the 15-metre stretch of footpath was utterly unsuitable for practice - by the time I pushed off and started moving, I would be nearing the end of the path, leaving me with no space or time to try clipping into the other pedal.
-
Second practice outside: The next day was mercifully dry and sunny. I ventured out once again to the park area outside my apartment, but this time, instead of a pitiful 15-metre footpath, I had a big wide area to practice on. My first few attempts were clumsy and wobbly, but slowly I began to get the hang of it. The most important thing I learnt is that when I’m struggling to clip in my non-dominant (right) foot, I must continue pedalling to maintain forward momentum, which in turn allows me to continue with my attempts of clipping in. The alternative (not recommended) is to get distracted by my inability to clip in, lose speed, then topple over. After around 30 minutes of practice, I felt more confident in my clipless pedals. Which brings me to today…
My First Proper Ride with Clipless Pedals
Waking up at 5:50 am, I returned to Tempe Reserve, the site of my first practice session with Jensen back when I still had flat pedals.
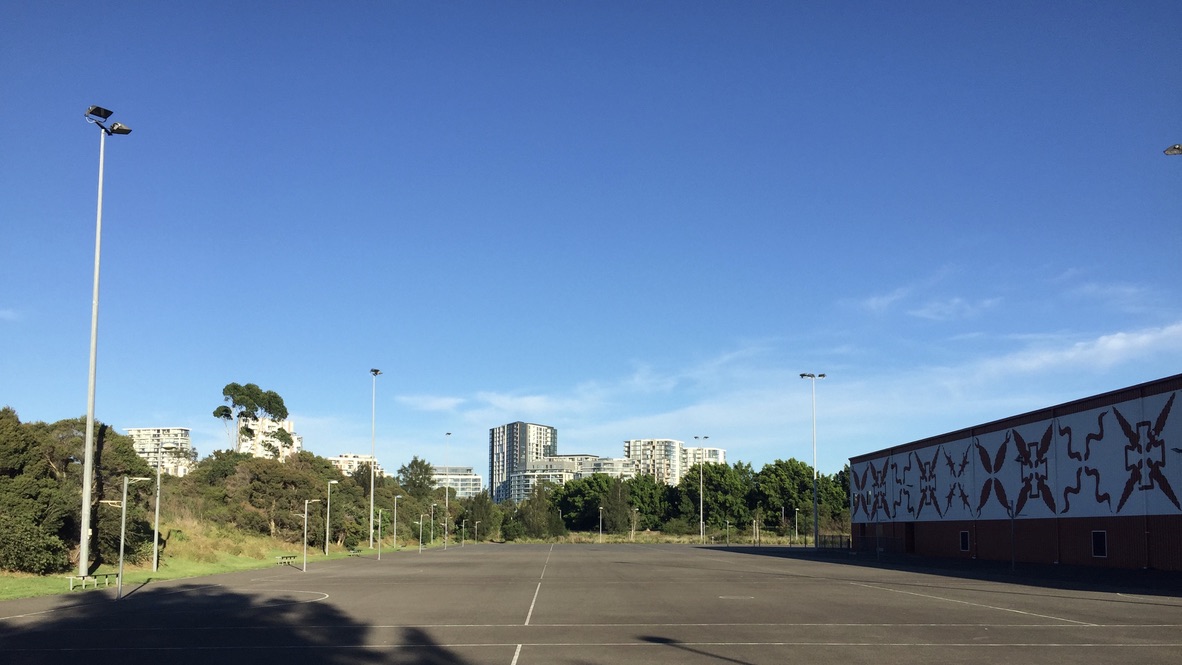
I headed to the netball courts, a vast expanse of emptiness and a perfect place to build up my nerves before continuing my ride on the bike paths around the park.

Following the straight lines on the courts, I practiced this exact sequence perhaps 20 times: clip in my left foot, start pedalling, build up some speed, clip in my right foot, slow down, unclip my right foot, then finally come to a stop with my left foot still clipped in and my right foot resting on the ground.
When stopping temporarily at pedestrian crossings, stop signs, or traffic lights, road cyclists usually only unclip on one side, to make it more convenient to start moving again. I attempted to mimic this pattern in my practice, until it went scarily wrong on one attempt.
The Fall
Riding comfortably along the courts with both feet clipped in, I started slowing down, then confidently unclipped my right foot. I braked to a stop and lowered my right foot from the pedal.
One moment I was in easy, smooth control; the next moment I lost it, slowly and then all at once. Time slowed to a horrifying standstill as I felt my body and my bike inexplicably tilt towards the left, towards the side where I was still clipped in, and away from my unclipped right foot, which was ready to support my weight on the ground but was suddenly rendered completely useless.
With a dull thud, my bike and I toppled onto the ground and I gained a few new bruises.
Afterwards I went over the scene a hundred times in my head. Could I have unclipped my left foot in time before I fell? Why did I tilt towards the left, when my intention was always to lean towards the right when stopping? And most importantly, how do I prevent this scenario from happening again?
A YouTube video I watched actually described this exact scenario of unclipping on one side only to fall towards the other side. To mitigate this risk, it recommended that beginners consider unclipping both sides before coming to a stop. I think that’s what I will be doing until I gain more confidence and control with my clipless pedals.
My Practical Tips and Learnings
What advice would I give to other clipless pedal beginners after today?
-
Take your time clipping in your non-dominant foot: Remember you can always continue to pedal even when your non-dominant foot is not yet clipped in. As a beginner, you will likely need to look down at the pedal to clip in, and it can take a few tries before you clip in successfully. In the meantime, focus on maintaining forward momentum, otherwise you may slow down unconsciously and topple painfully over.
-
Practice situational awareness: You should aim to unclip well in advance of stopping. But this relies on knowing at all times when you may need to stop. Practice being more aware of your surroundings, so you can correctly anticipate potential stops.
-
Get used to a new bike before adding clipless pedals: It was a happy accident that I did not get clipless pedals the same day I got my new road bike. I had planned to get everything fitted in one go, but at the time the shop did not have suitable cycling shoes in my size. In hindsight it was extremely fortunate that I got the opportunity to get used to my new bike unburdened by the steep learning curve of clipless pedals. It would have been absolutely overwhelming trying to learn both at once, and I would not recommend it.
Watch this space as I continue my clipless pedals journey, hopefully with more control and no more falls!
