A Theoretical Introduction to Peloton Riding

I used to view cycling as a solitary activity. I would go for rides by myself, setting my own pace, stopping and taking breaks whenever I wanted, and generally enjoying the peace and freedom afforded by solitude.
It is only in the past month - shortly after I signed up to Tour de Cure - that I started cycling with others, though still only with one or two colleagues at a time. On each ride, my colleagues would gradually build up my comfort level of riding in close proximity to them, to prepare me for the larger group training rides (and for the tour itself).
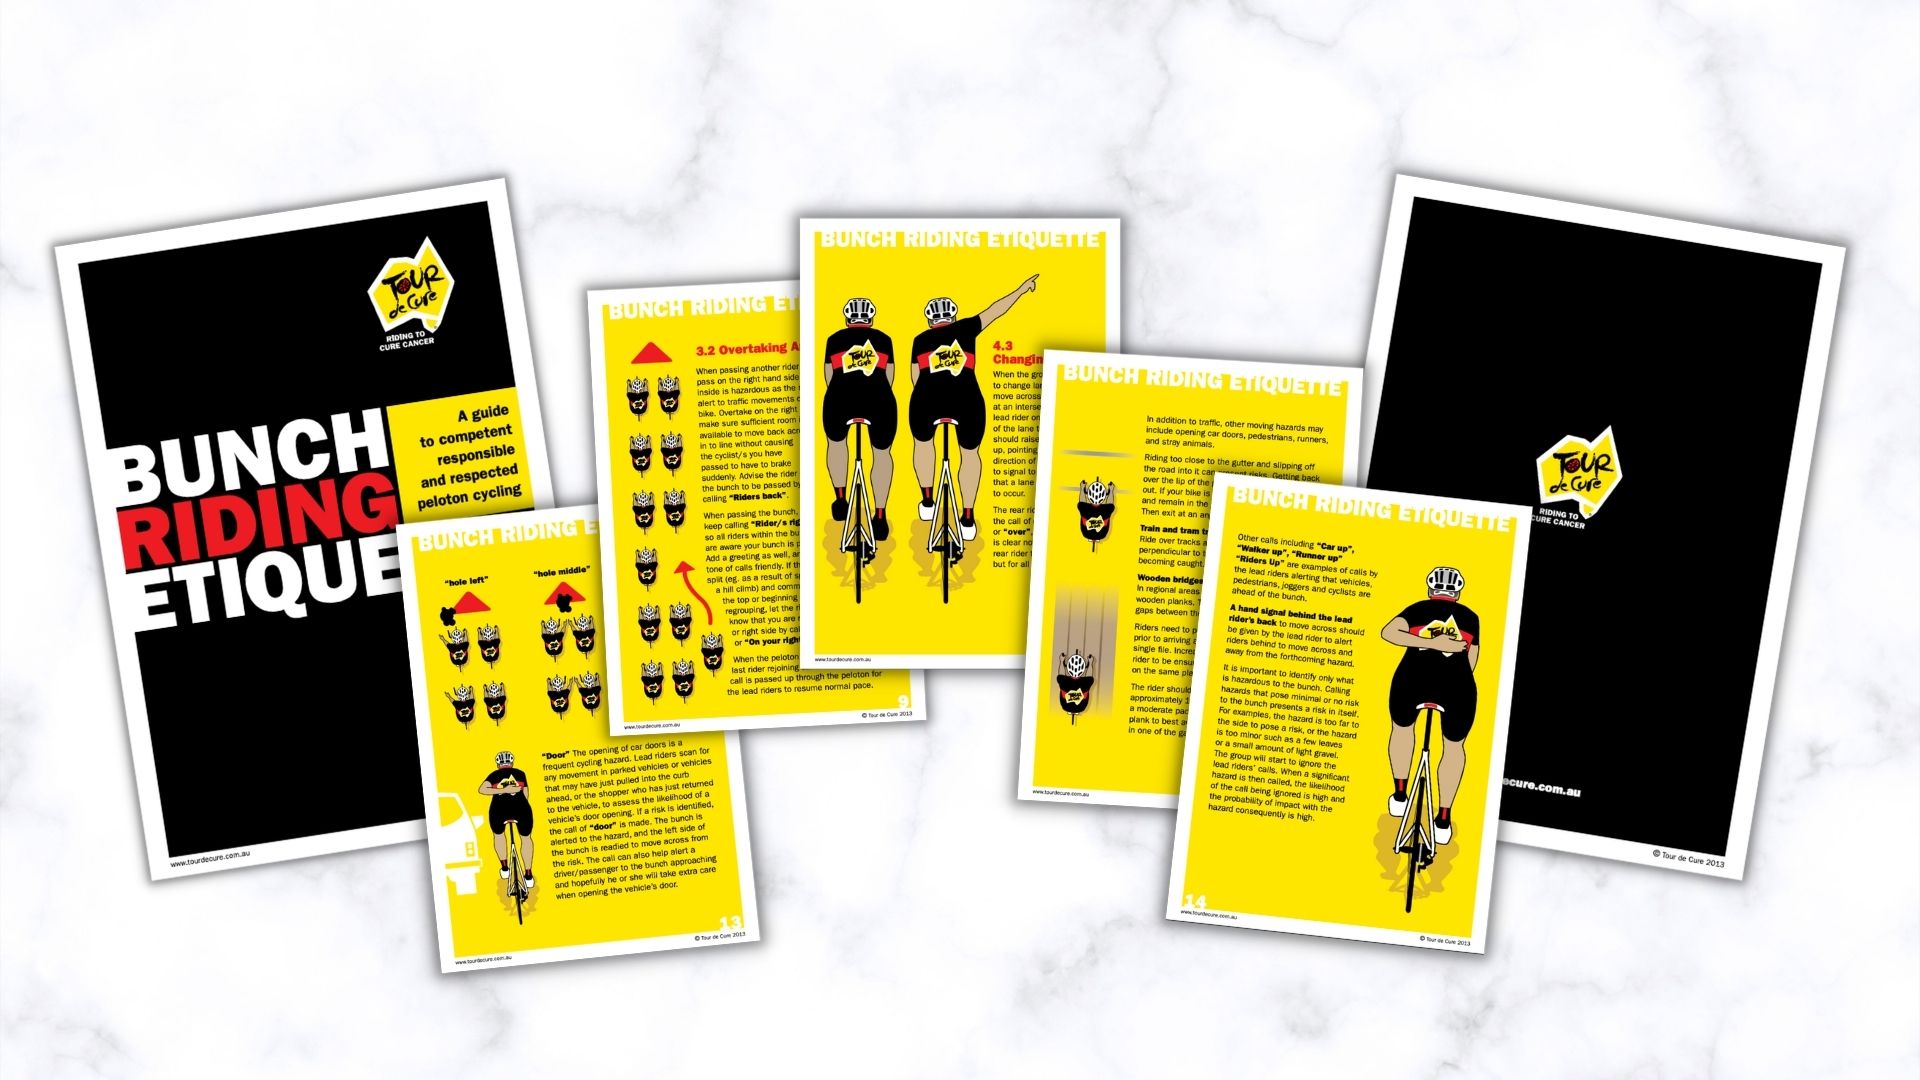
To better inform my foray into peloton riding, I heeded the advice of TDC organisers and spent a couple of hours recently digesting the contents of the 41-page official TDC Bunch Riding Etiquette Guide.
This post is a summary of my learnings from this guide plus assorted online articles and YouTube videos on peloton riding. It is a theoretical exploration by necessity, since I don’t yet have any practical peloton riding experience.
Why Ride in a Peloton?
A peloton is defined as a group of cyclists riding in close proximity to each other. It is an efficient formation that saves energy for the group through a reduction in drag. While riders at the front are fully exposed to air resistance, those behind them are sheltered, benefiting from a dramatic reduction in drag and energy expenditure.
Reading about peloton riding online, I was fascinated to discover that while the basic premise of riding in a group seems simple, the collective behaviour of a peloton is actually very complex, especially at premier road cycling races. Researchers have even studied pelotons using game theory to explore the dilemma associated with transitions between cooperative and free-riding behaviours.
The Basics

Here is a summary of my key learnings from the Etiquette Guide:
-
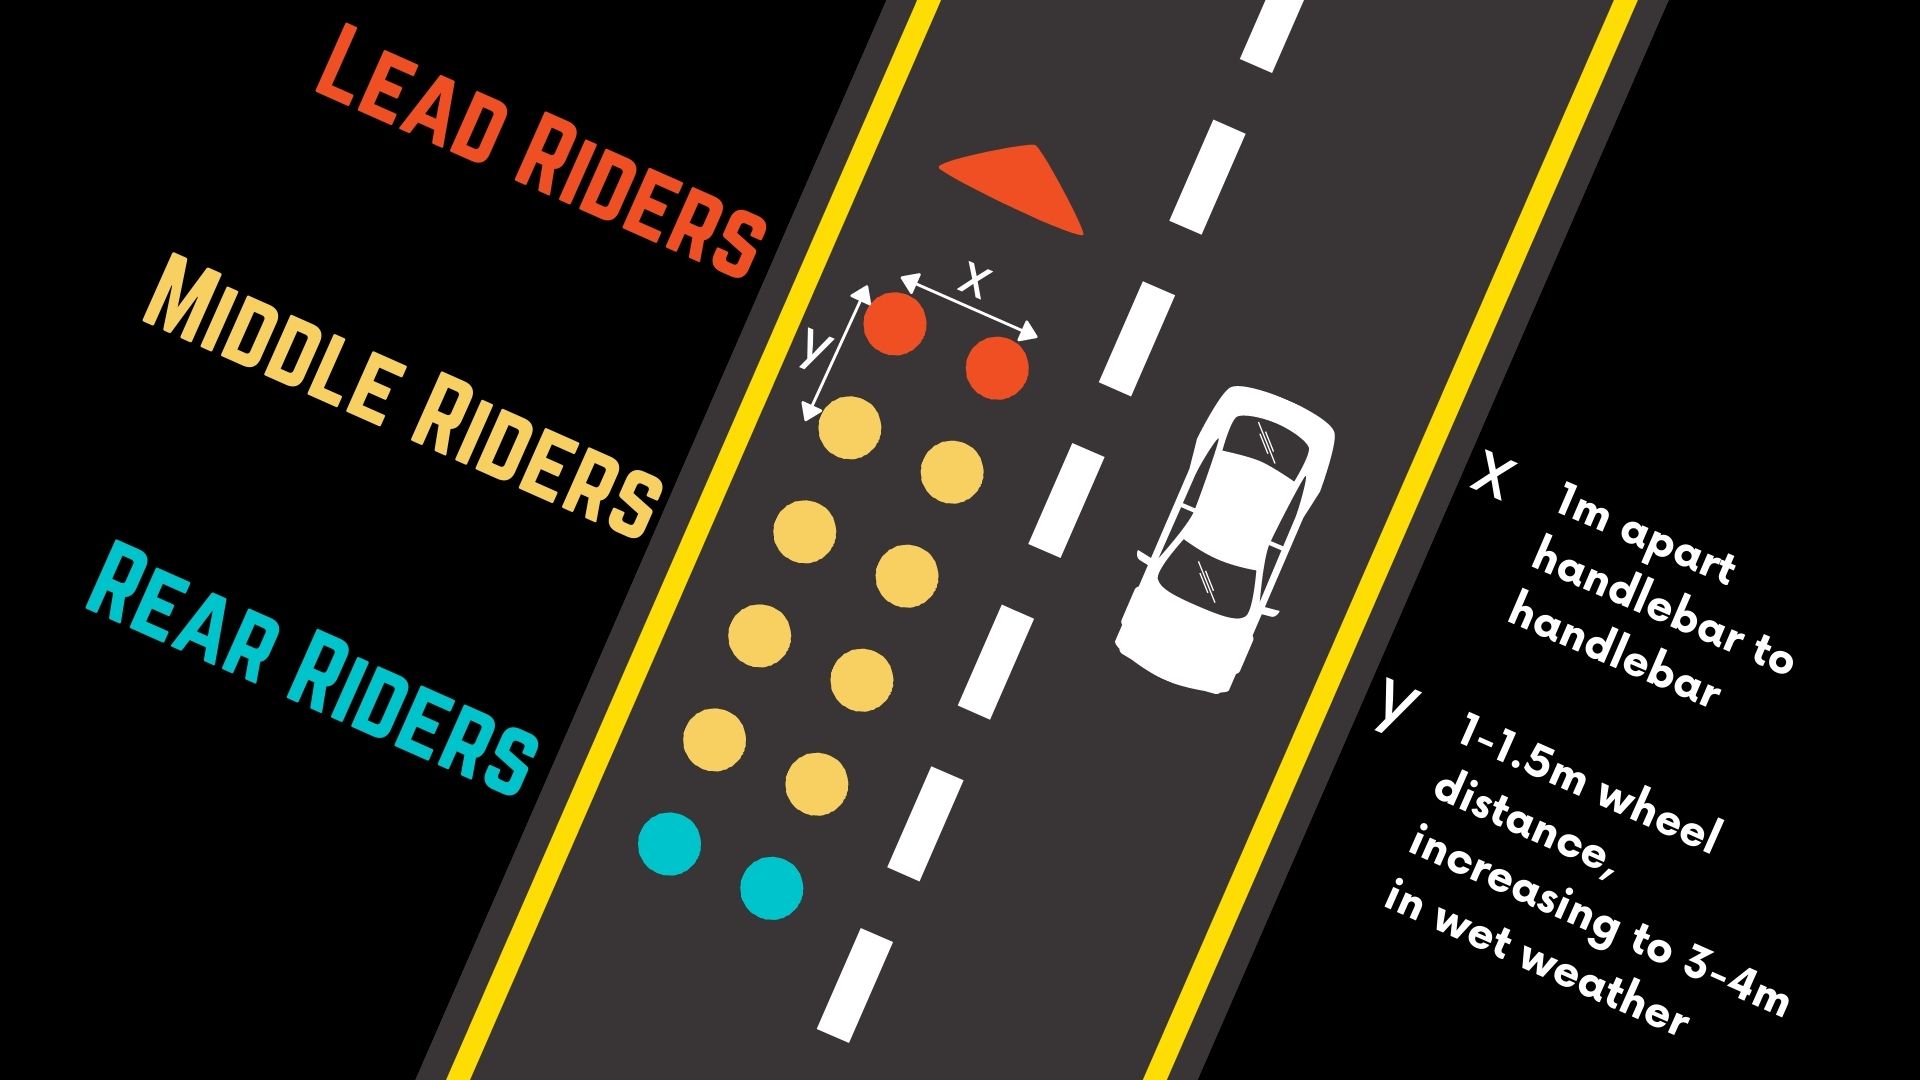
Peloton geometry: Each rider pairs with a partner to form a bunch formation. Partners should ride approximately 1 metre apart handlebar-to-handlebar, and all riders should keep a distance of 1-1.5 metres from the wheel in front, increasing to 3-4 metres in wet weather.
-
No half-wheeling: Never overlap wheels with the rider in front. Half-wheeling is dangerous because you can move into another rider’s blind spot, and any sideways movement or braking by the rider in front could result in a collision.
-
No free wheeling: Do not stop pedalling when eating, drinking, or calling out hazards. Free wheeling will force riders behind to slow, causing a ripple effect through the peloton and potentially resulting in a wheel clip and crash.
-
Single file: The bunch formation is fluid, not fixed in shape. There are situations when the peloton should move into single file, for example when passing parked vehicles, riding in a single lane road with traffic, or going up a steep left-hand bend. To transition into single file formation, the lead riders accelerate to create extra space, then all riders on the right ease off momentarily to move behind their respective left-hand partners.
-
Communication: Lead riders are responsible for alerting the peloton to hazards on the road ahead. In a large peloton, riders at the back may struggle to hear the calls, so middle riders must relay the calls down the group. Similarly, any calls made by rear riders (for example warning about a truck approaching from behind) must be relayed up the group to the lead riders.
-
Rotating the lead: Lead riders should be rotated at approximately 10 km or 20 minute intervals, both to prevent fatigue, and to provide lead rider training to all riders. To initiate the lead rotation manoeuvre, riders rearrange themselves in an anti-clockwise direction. (Check out pages 27-29 of the guide for annotated diagrams.)
Calls
One of the key takeaways from the Etiquette Guide is the importance of communication when riding in a peloton. Since riders are positioned so close to each other, it is critical that hazards are identified and communicated early, such that the peloton can react appropriately as a cohesive whole.
The Etiquette Guide provides examples of standard calls that riders use to communicate hazards and signal intention. Some calls are used in conjunction with hand signals, to clearly alert riders to take some imminent action.
Below is my summary of all the calls explained in the guide. You’ll notice many of the calls are given by the lead riders, who take responsibility for identifying hazards and warning the peloton of traffic changes, since the middle and rear riders have their vision obscured by riders in front.
| Call | By | Hand Signal | Meaning |
|---|---|---|---|
Rider(s) back |
Overtaking rider | Advise another rider you are overtaking, when approaching them from behind | |
Rider(s) right |
Overtaking rider | Advise another rider you are overtaking, when passing them | |
On your left/ right |
Regrouping rider | Advise your riding partner you are rejoining on the left/ right | |
All on |
Last rider rejoining the group (e.g. at top of hill) |
Advise lead riders that peloton has fully regrouped, so they can resume normal pace | |
[Hazard] left/ middle/ right(e.g. “Hole left”, “Stick middle”, “Glass right”) |
Lead riders | Hand pointed towards hazard | Alert peloton to hazards on the road |
Door |
Lead riders | Left hand placed behind back (indicates riders behind should move across and away from hazard) |
Alert peloton to risk of car door opening |
[Moving thing] up(e.g. “Car up”, “Walker up”, “Runner Up”, “Riders Up”) |
Lead riders | Left hand placed behind back (indicates riders behind should move across and away from hazard) |
Alert peloton to vehicles, pedestrians, joggers or cyclists ahead |
Lights, stopping |
Lead riders | One hand held up | Signal peloton to stop for a red traffic light |
Rolling |
Lead riders | Signal peloton to continue moving, since there is not sufficient space to stop in time and it is safe to continue through traffic lights | |
Stopping |
Lead riders, or Middle/ rear riders (only in a large peloton with more than 12 riders) |
Signal peloton to stop at a traffic light, roundabout or intersection. In a large peloton, the call can be made by middle or rear riders, in which case the peloton will split and regroup later | |
Clear |
Lead riders | Signal peloton to continue through a roundabout or intersection | |
Hold the lane |
Lead riders | Remind riders to keep to their lane at a roundabout | |
Single |
Lead or rear riders | One hand raised above the helmet, pointing forward | Signal peloton to move into single file formation (e.g. when the road narrows or traffic increases, or rear rider anticipates congestion behind the peloton) |
Wait |
Rear riders | Indicate to lead riders it is not yet safe to change lanes | |
Over |
Rear riders | Indicate to lead riders it is safe to change lanes | |
Car back |
Rear riders | Alert peloton to vehicle approaching from behind. Riders should move over to the left, or move to single file if the road is too narrow | |
Car inside(NOT “Car left”) |
Rear riders | Alert peloton to vehicle passing on the inside lane (when the peloton is in a right-hand lane) | |
Mechanical |
Rider requiring mechanical repairs | Signal to peloton you are stopping off the road for mechanical repairs | |
Rotating |
Current lead riders | One arm held up with finger pointing to the sky and spinning | Signal to peloton it is time to rotate the lead riders |
Next Steps
Learning the theory is one thing, putting it into practice will be quite another, I imagine. The Etiquette Guide’s recommendation to new riders is to observe and listen to more experienced riders while staying at the back of the peloton. Only after “evidence of good balance, control, communications, overall riding skill and feedback from the rider” will a new rider be invited to join the main bunch.
To me that is quite a daunting list, when currently I can’t even 100% consistently unclip and stop without falling over. Needless to say there is much for me to learn and practice.
